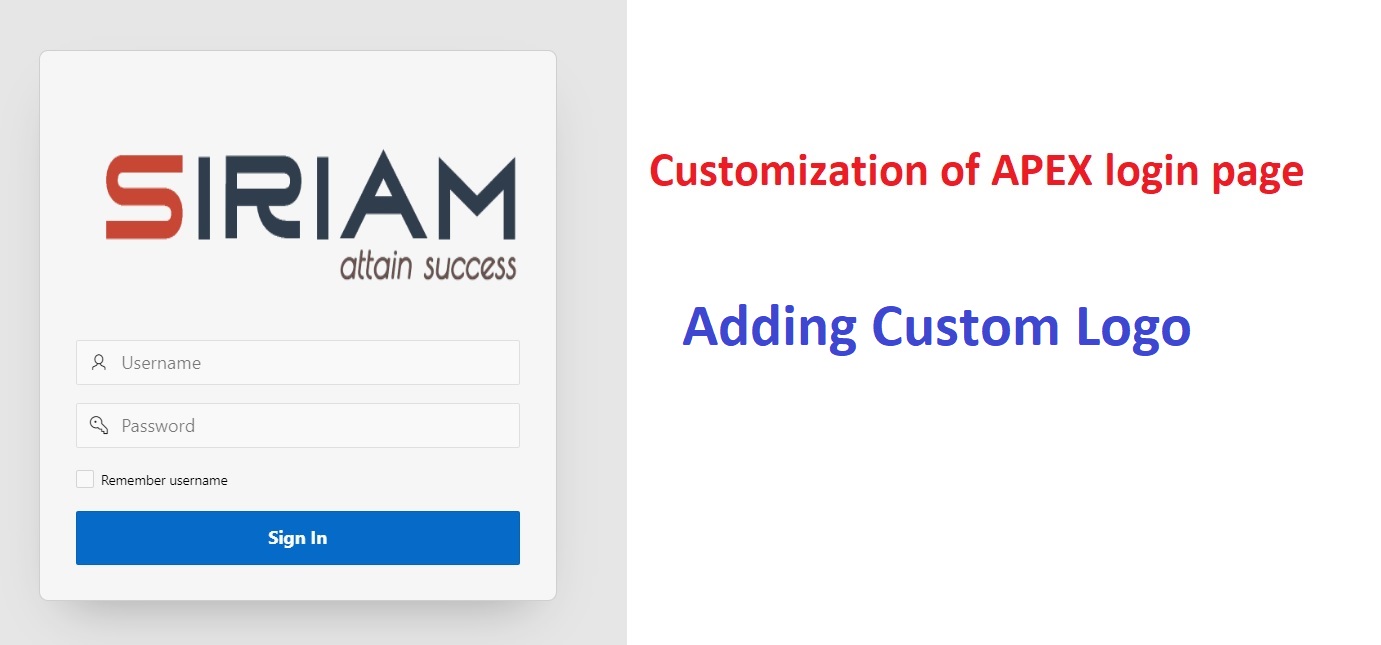
The logo on the login page gives a premium look to your application and gives recognition of your business to the customers or users, in this how-to tutorial I will explain the simple steps which you can follow to add your own logo to the APEX login screen very easily in 9 Steps, Let’s Start!!
Step1:
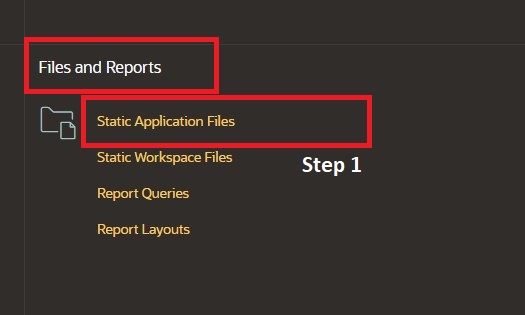
Open Your Application in App Builder -> Shared Component -> File and Report -> Static Application Files
Step2:
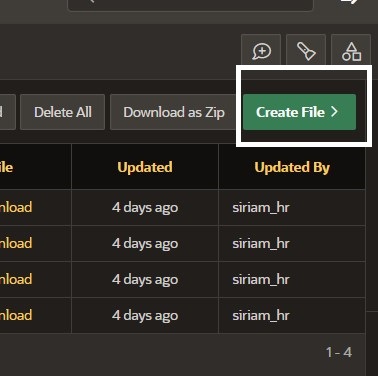
Click On ‘Create file ‘ Option
Step3 : Upload your logo and give a name to it without using space
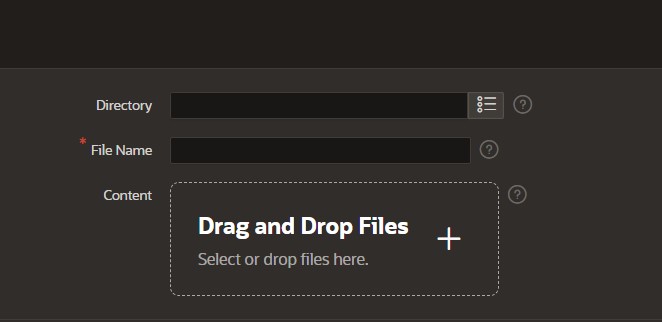
Step4 : Note the reference of the logo you uploaded, which will be used in an upcoming step

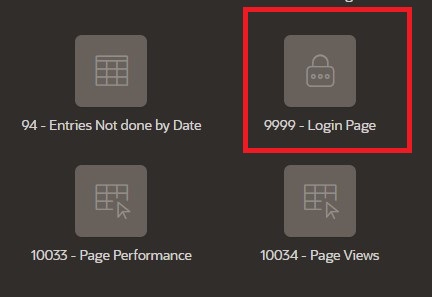
Step 5: Open your Login page in App Builder to add the logo to the login screen
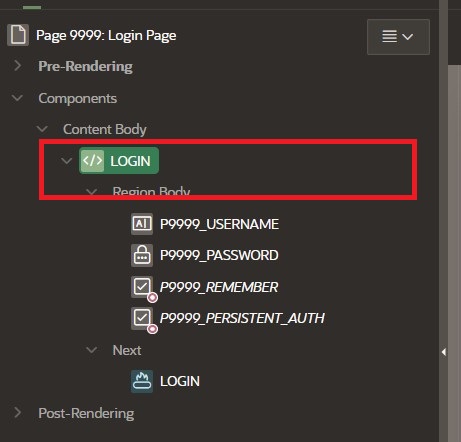
Step 6: Select Login Region(there can be another name in your application) from Left Panel
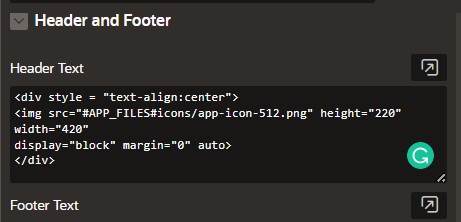
Step 7: Under the Region option Right Panel find Header & Footer option

Step 8: Inside Header, Text Box Paste the following code

Replace ‘src’ with a reference to your logo from step 4, you can also change the height and width of your logo
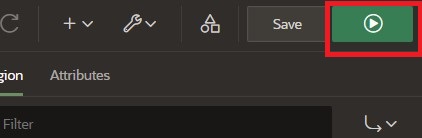
Step 9: Click on Save and Run Page
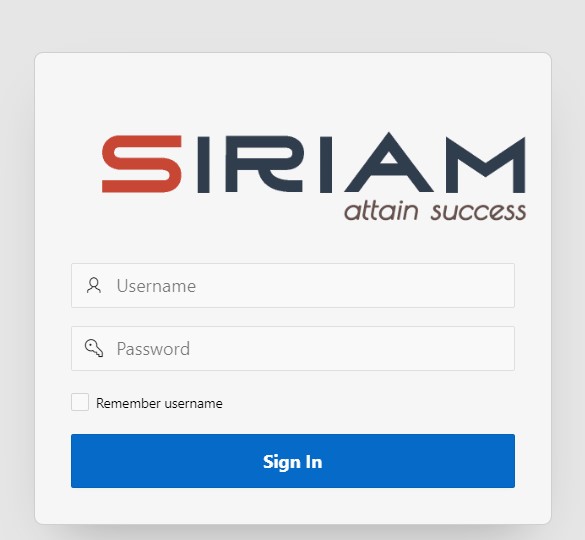
You will see the updated logo on your login screen. Enjoy